
|
Shane's R2 Build Log
|
|
|
Shane's R2 Build Log
|
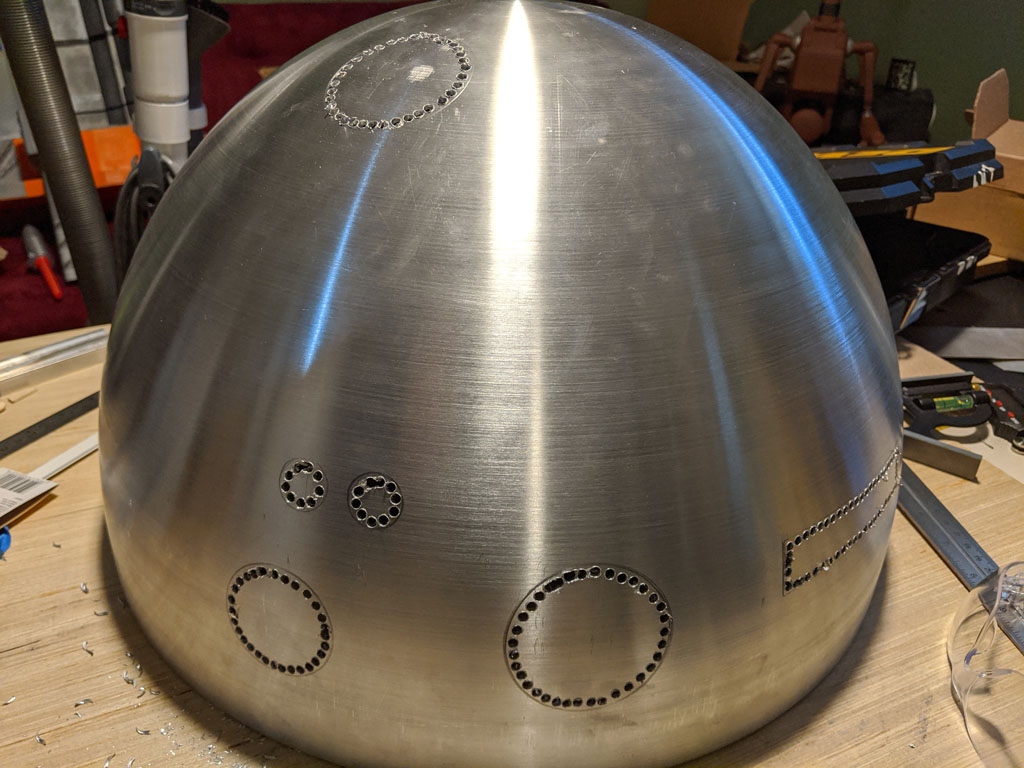
Cutting the Inner DomeCutting into the inner dome was an extremely anxiety-inducing endeavour. Given the cost of the dome and my desire to get this part right, I took this work extremely slow. The first thing I did was to seat the out dome onto the inner dome, ensuring a tight and even fit all the way around. This was harder than it sounds. Using a ruler and a set of callipers, I probably spent an hour just trying to even things up. One side always seemed to be a millimeter out of alignment as compared to the other side. Once I was satified that everything was seated properly, I used an extremely sharp pencil and traced all of the lines for the various openings needed. These were for things like holo projects, PSIs, etc. One challenging bit here was that all of the panels on the outer dome had been removed by this point so that the outer dome can be deburred and any sharp, pointy bits removed. And some of the holes needed to be drawn with panels added back on. I then removed the outer dome and carefully drilled a series of small holes alongside the inner perimeter of each hole pattern. 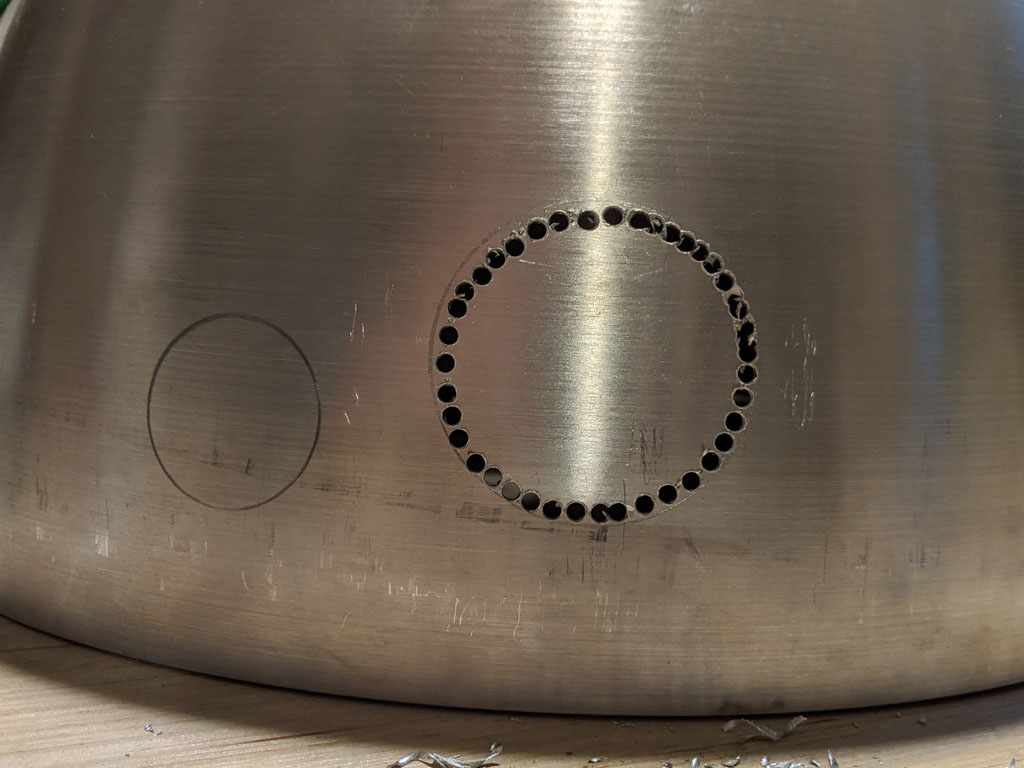
After all the holes were drilled, I then used a small file and a hacksaw blade to remove the insides of the holes. 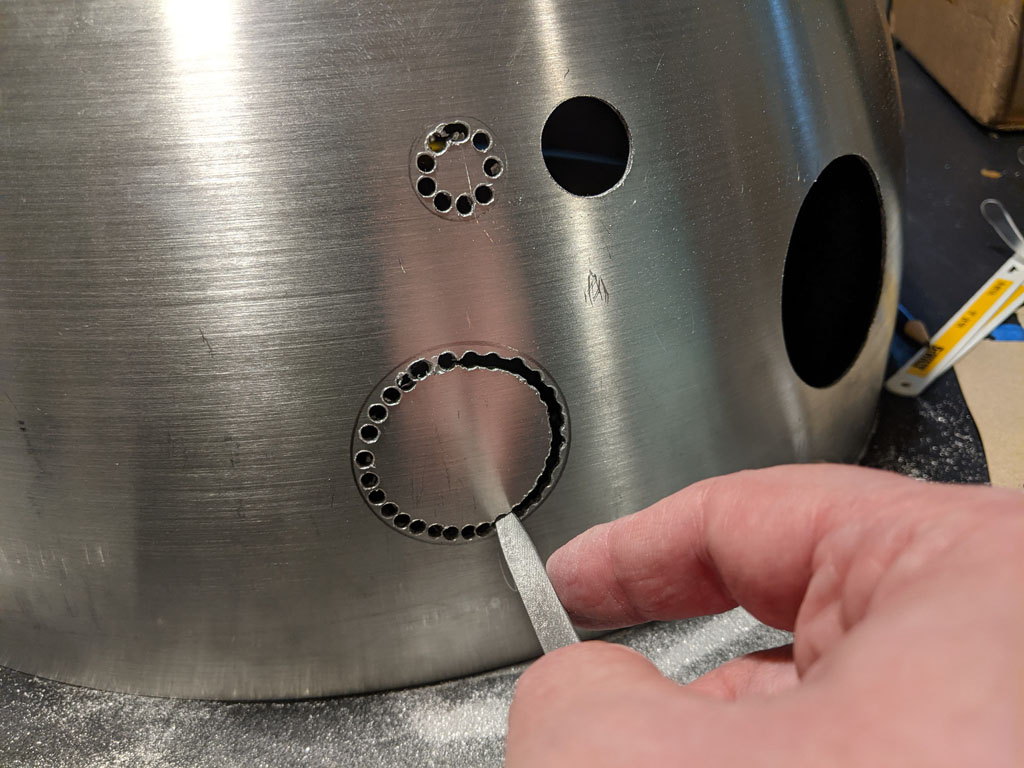
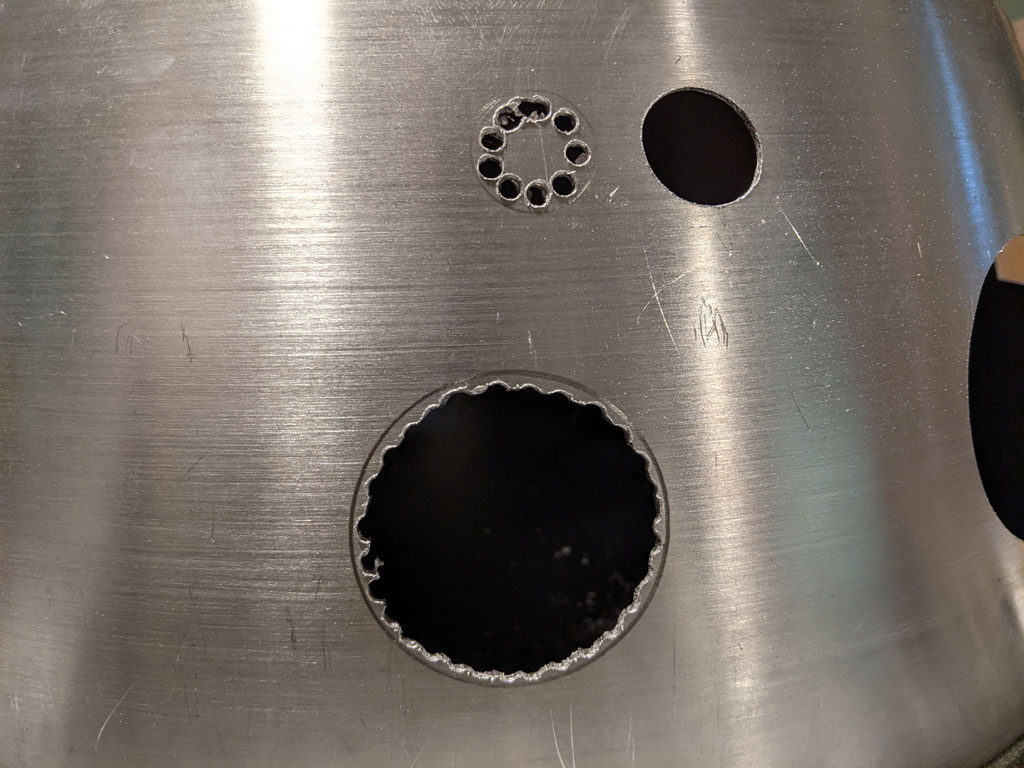
To finish up, I used a bigger D-shaped file to clean up. The curved edge of the file worked great to round out the circular holes. And the flat edge worked great for the FLD and RLD holes. |